
Asterisk is a well-known PBX leader in the open source IP telephony community for many years. Lots of user interfaces and dedicated Linux distributions have been created to easily configure this software but, as they require a fair amount of resources, you might want to avoid to install them on that piece of hardware that is supposed to secure the internet access for your family members.
Make no mistake, running Asterisk on your router is a dangerous business if you are not familiar with the potential security challenges that are caused by wrong PBX and router configurations. As this subject is out of the scope of this article, I encourage you to read more on that before moving forward with this installation.
What do you need?
You need a router that runs on Linux, has a fast CPU, some memory, storage and, very important, gives you access to its command shell. This is quite a serious demand for an home office device but keep in mind that for the above reasons you cannot expect to complete this installation on the modem router that usually come from your provider or on a 50$ WiFi router.
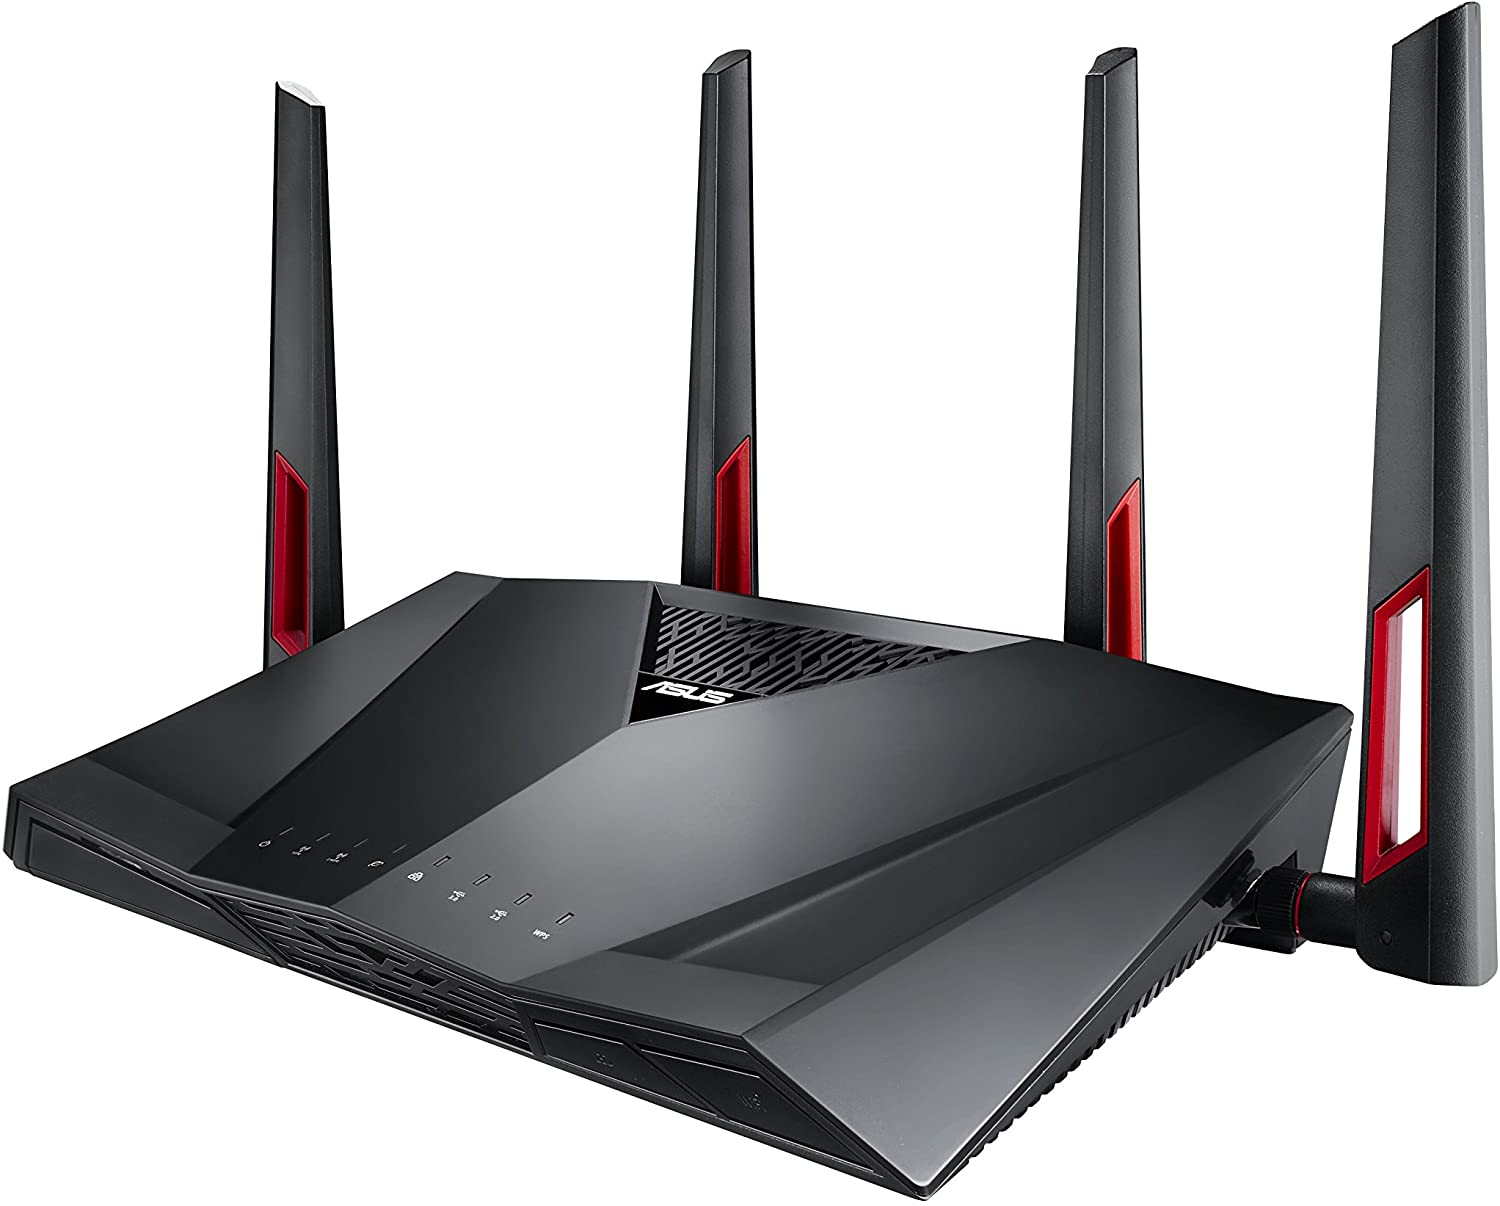
In my case, I am using ASUS RT-AC88U with Asus WRT Merlin which is very generous in terms of hardware but you should be able to install this on many other routers as well.
If your device does not have enough available storage, you should be able to extend it with some USB 3.0 memory stick or hard drive and I strongly recommend that you do so. Slower USB versions also work acceptable but make sure you use good quality storage.
Next, you will need an Asterisk distribution that has been built for the CPU of your router. You can get that using the package manager that comes with your router… or not.
If you already have a package manager that gives you Asterisk packages then you can skip step #3.
This tutorial assumes that Optware packager is available for your system, so, if that is not the case, you will need to make sure that you add the right repositories to your package manager in order to be able to get Asterisk packages.
Let’s do this
- Enable JFFS
- Enable SSH
- Install Optware package manager
- Install Asterisk packages
- Test the installation
- Configure Asterisk
- Optimize the configuration
1. Enable JFFS
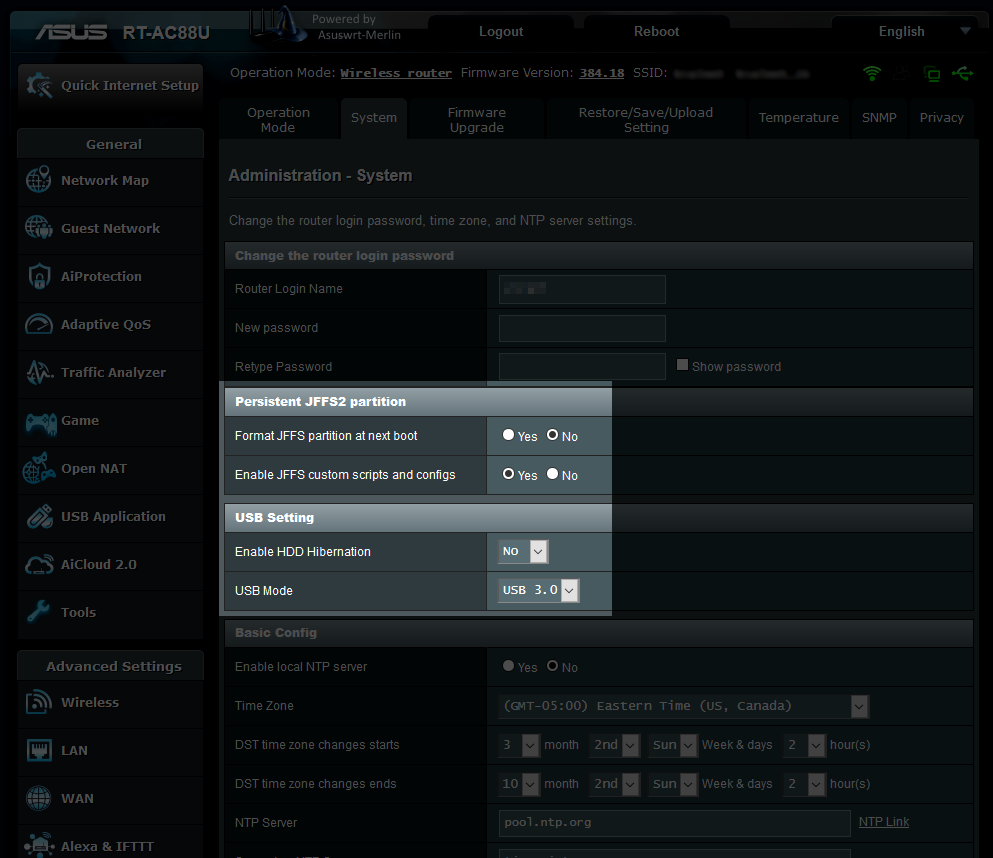
In order to be able to write anything on your router filesystem you need to enable the option that make that possible. On ASUS routers the partition that can be written is called JFFS and you can turn that on using the GUI under Administration > System. If you have not formatted your USB device already, you can check “Format JFSS partition at next boot” and reboot your router in order to format the storage before using it.
If you want to format your USB device manually later on, you can leave the format option turned off and later use the shell command to do that.
2. Enable SSH
As you will have to run quite a few shell commands, you need to make sure that you enable SSH access to your router.

Having SSH enabled will also help you to easily transfer files between the router and your computer.
3. Install Optware package manager
Connect to your router shell command using your favorite SSH terminal application.
If your USB drive is not already formatted, now it’s the right time to do that. Here is how to format it for EXT3 filesystem:
umount /tmp/mnt/sda1
mkfs.ext3 /dev/sda1
Next, you will have to download a script that inspects your hardware configuration and installs the appropriate binaries for Optware packager. This is the main activity as this script will drive you thru the installation process.
It also adds the mounting commands to JFFS start and stop scripts. As for all downloaded scripts that you run on your system, I strongly recommend that you do take a look inside the script before launching it.
The script must be executable before you launch it, so the following commands will help with that:
cd /tmp
wget http://mknsys.com/files/optware-ngu-setup.sh
chmod +x ./optware-ngu-setup.sh
./optware-ngu-setup.sh
Follow the instructions to install Optware based on your specific configuration. Once it’s done, you can run this command to make sure that all is fine:
ipkg update
Getting no error message means that you are ready now to install Asterisk.
4. Install Asterisk packages
As Optware package manager has been installed you will use it to install all needed packages. The most recent Asterisk version supported by Optware repository ,at the time I am writing this, is version 11, so these are files that are needed:
ipkg install libcap asterisk11 asterisk14-core-sounds-en-alaw asterisk14-core-sounds-en-g729 asterisk14-core-sounds-en-gsm asterisk14-core-sounds-en-ulaw asterisk14-extra-sounds-en-alaw asterisk14-extra-sounds-en-g729 asterisk14-extra-sounds-en-gsm asterisk14-extra-sounds-en-ulaw asterisk14-moh-freeplay-alaw asterisk14-moh-freeplay-g729 asterisk14-moh-freeplay-gsm asterisk14-moh-freeplay-ulaw
5. Test the installation
In order to test the installation, I recommend that you start Asterisk and connect to it using its client that by now should be added to your PATH.
Start Asterisk
safe_asterisk
Connect to CLI
asterisk -vvvvr
This way you should be able to get into CLI with a welcome message ending by “Connected to Asterisk 11.7.0 currently running on gateway (pid = 12345)”.
6. Configure Asterisk
As you’ve just got a fresh installation, you should start now to setup your Asterisk PBX creating your extensions, registering to your VoIP provider etc.